A finished basement can add 50-100% more living space to your home — but the question how much does it cost to finish an unfinished basement is really two questions: what does it cost, and what does it cost to do it right (dry, to code, insurable). I’ve finished one basement (DIY-heavy) and priced pro jobs for another. Here’s the complete 2026 cost picture, including the moisture work that must come first.
The range: $20,000-60,000 for a typical 1,000 sq ft basement professionally finished ($20-60/sq ft), or $10,000-25,000 DIY. Most homeowners land around $30,000-40,000 pro-done. But “unfinished” covers everything from a dry concrete box to a damp cave — the starting condition swings the price enormously.
How Much Does It Cost to Finish an Unfinished Basement? Cost Breakdown
- Waterproofing/moisture mitigation: $0-15,000+. The variable that breaks budgets. A dry basement: $0. A damp one: interior drain tile + sump ($5,000-12,000), exterior waterproofing ($10,000-25,000+). Do not finish a wet basement. Ever. Finish the waterproofing first, verify dryness through a full wet season, then finish.
- Framing: $3,000-7,000 pro ($1,500-3,000 DIY). Metal or pressure-treated bottom plates (code requires moisture-resistant bottom plates on concrete).
- Electrical: $3,000-8,000. Outlets every 12 feet (code), lighting, dedicated circuits. Licensed electrician territory.
- Plumbing (if adding a bathroom): $5,000-12,000. Below-grade plumbing often needs a sewage ejector pump ($1,500-3,000) if below the sewer line. A basement bathroom adds enormous value but significant cost.
- HVAC extension: $2,000-5,000. Extending ductwork + returns. Basements need dehumidification consideration — size accordingly.
- Insulation: $2,000-4,000. Rigid foam against foundation walls (the correct method — not fiberglass batts against concrete, which grows mold). R-10 minimum in most climates.
- Drywall: $3,000-6,000 pro ($1,500-2,500 DIY). Moisture-resistant (green/purple board) — not standard drywall.
- Flooring: $3,000-8,000. LVP or tile (never solid hardwood below grade; carpet only with excellent moisture control). See my flooring guide for material comparisons.
- Ceiling: $1,500-4,000. Drop ceiling (access to utilities — the practical choice) vs. drywall (cleaner look, but burying shutoffs/pipes you’ll need later).
- Egress window (required for bedrooms): $3,000-6,000 installed. Code requires it; no bedroom without one. Factor this in if a bedroom is planned.
- Permits: $500-2,000. Required. Unpermitted basement finishes cause appraisal, insurance, and resale problems.
The Moisture Question (Read This First)
I’ll say it again because it’s that important: verify the basement is dry before finishing. How:
- Tape 2×2 ft plastic sheets to walls and floor in several spots. Wait 48 hours. Condensation under the plastic = moisture migrating through (needs mitigation). Condensation on top = humid air (dehumidifier may suffice).
- Check after the wettest season, not during a dry spell.
- Look for efflorescence (white mineral deposits — water has been moving through), existing mold, rust on metal, musty smell.
- Exterior first: grading sloping away from foundation, gutters extended 6+ feet out, no mulch piled against walls. These free/cheap fixes solve most “wet basement” problems. (My gutter guide and sump pump guide are the companion pieces.)
The EPA’s basement moisture guidance is the authoritative building-science reference — worth reading before spending a dollar.
Layout and Design for Basements
- Embrace the constraints: low ceilings, support posts, mechanical rooms. Design around them (posts become room dividers; soffits hide ducts) rather than fighting them.
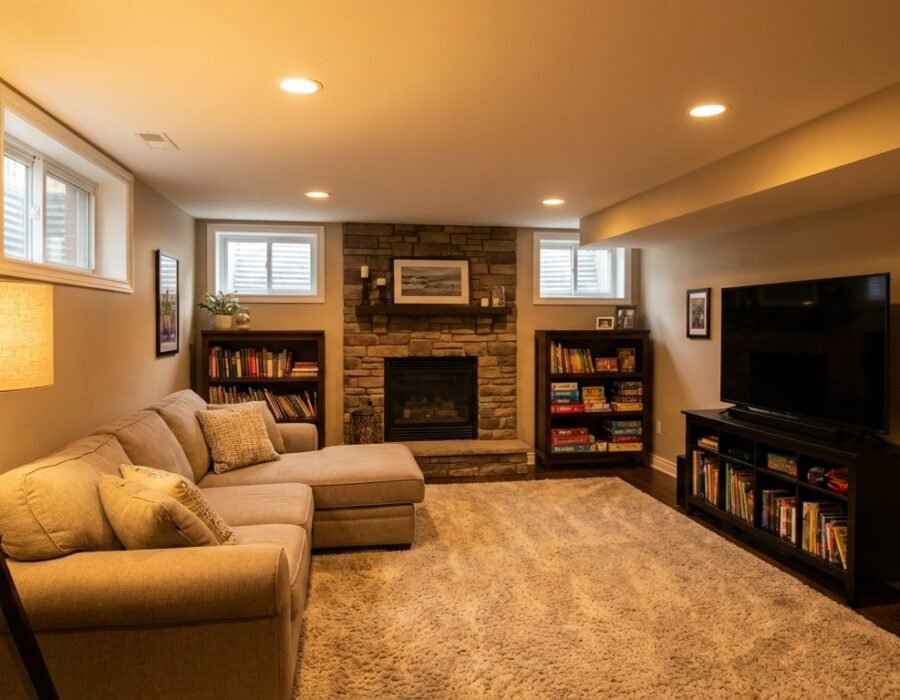
- Lighting is everything: basements feel cave-like without aggressive lighting. Recessed LEDs on dimmers, light paint, and an egress window transform the feel. Budget more lighting than you think.
- Plan the bathroom early: plumbing rough-in location determines layout. Even a rough-in for future bathroom ($1,500-2,500 now) saves $8,000 later.
- Soundproof the ceiling if it’s a media room or bedroom (see my soundproofing guide) — footsteps from above are the #1 basement complaint.
- Keep access: shutoff valves, cleanouts, electrical panels, sump pump — all need access. Plan removable panels, not buried access.
ROI Reality
Finished basements recoup 70-75% at resale — excellent as far as projects go. But the real return is living space you use daily — a family room, office, gym, or guest suite that would cost 3x to add above grade. Appraisers count below-grade space separately (it’s valuable, but not at above-grade rates), so don’t finish expecting dollar-for-dollar appraisal gains.
What kills ROI: over-improving (high-end finishes in a mid-range neighborhood), finishing without addressing moisture (mold remediation later costs more than the finish did), and unpermitted work (appraisers may not count it).
DIY vs. Pro Split
- DIY confidently: framing, insulation (rigid foam), painting, flooring (LVP), trim, drop ceiling.
- DIY if experienced: drywall hanging/finishing (it’s an art — pros are 5x faster).
- Hire out: electrical, plumbing, HVAC, egress window cutting (structural + waterproofing), any waterproofing system.
The Egress Window Non-Negotiable
If you’re planning a basement bedroom, budget the egress window FIRST ($3,000-6,000 installed) — not last. Code requires it (minimum opening size, sill height) for any sleeping room, and it’s the item most likely to blow up your budget if discovered late. It involves cutting concrete foundation, installing a window well with drainage, and proper waterproofing — not a DIY project for most. But beyond code, it’s transformative: natural light and ventilation make the basement feel like a real living space instead of a bunker. I consider it the line between a basement that feels like a basement and one that feels like a home.
The Bottom Line
How much does it cost to finish an unfinished basement? $20,000-60,000 pro ($30,000-40,000 typical for 1,000 sq ft), $10,000-25,000 DIY. But the real answer starts with moisture: verify dryness through a wet season, fix exterior drainage first, and never finish a wet basement. Then frame with moisture-resistant materials, insulate with rigid foam (not fiberglass against concrete), light aggressively, keep utility access, and permit everything. Done right, it’s the cheapest square footage you’ll ever add.
Basement Finishing Mistakes That Cost Thousands
Mistake one: finishing before solving moisture. Drywall over a damp foundation is a mold farm with a $15,000 demolition bill attached. Verify dryness through one full spring rainy season before framing. Mistake two: fiberglass batts against concrete. They absorb moisture, grow mold inside the wall where you can’t see it, and lose R-value when damp. Rigid foam board against the foundation, then framing in front of it — this is the correct assembly, full stop.
Mistake three: no permit. Unpermitted basement space often can’t be counted in appraisals or listings, can void insurance claims, and becomes a negotiation weapon for buyers. The permit costs $500-2,000; skipping it risks tens of thousands. Mistake four: burying access. Drywalling over the main water shutoff, cleanouts, or the electrical panel turns every future repair into demolition. Use a drop ceiling or build labeled access panels. Mistake five: carpet directly on concrete. Even “dry” basements wick moisture — if you want carpet’s warmth, use a raised subfloor system or carpet tiles over a moisture barrier. Every one of these mistakes is made daily by someone who skipped the research. Now you haven’t.