
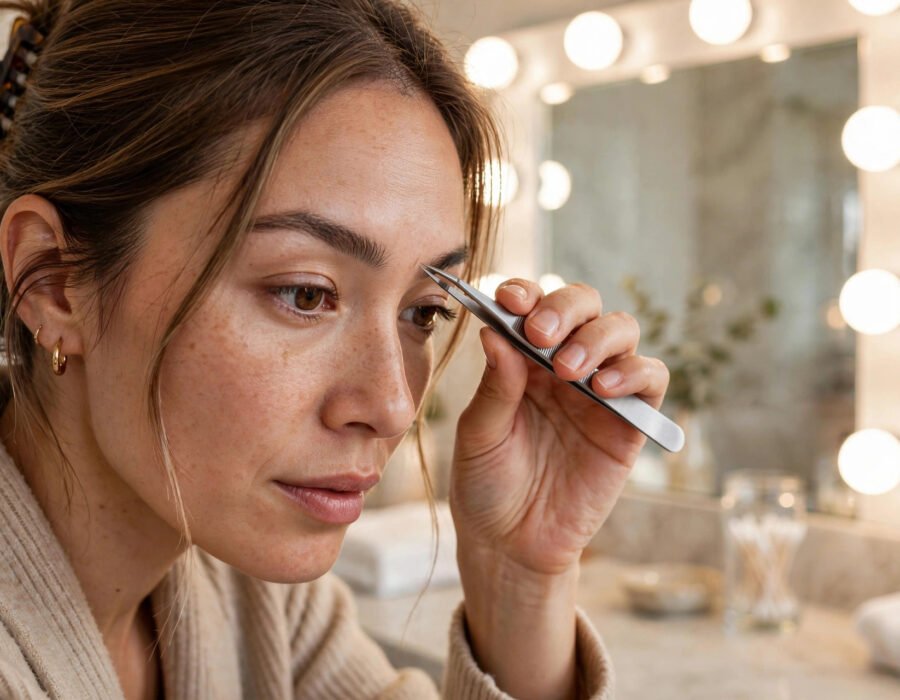
It starts innocently: a tweezer, a bathroom mirror, and fifteen minutes to kill. It ends forty-five minutes later with brows that can only be described as “surprised” — thin, uneven, and somehow both over-plucked and unfinished. Eyebrow shaping at home is one of those skills that looks easy until you’re the one holding the tweezers. This guide gives beginners the safest way to shape eyebrows at home: a methodical approach that prevents the disasters and delivers genuinely good results.
You’ll learn how to map your natural brow shape (the step everyone skips), the tools worth buying versus the gimmicks, a step-by-step shaping process with built-in safety rails, how to fix common mistakes, and when to hand the tweezers to a professional.
Step Zero: Map Before You Touch
Every brow disaster begins with unmapped plucking. Your face already knows where your brows should start, arch, and end — you just need to find the landmarks. Hold a pencil (or makeup brush handle) vertically against the side of your nose: where it crosses your brow is where the brow should start. Angle it from the nostril edge through the outer edge of your iris: that’s your arch point. Angle it from nostril to outer eye corner: that’s where the brow should end. Mark these three points lightly with a white eyeliner pencil.
Now study your natural shape for a full minute. Brows have personalities: straight, arched, curved, angled. Your goal is never to impose a new shape — it’s to clean up and define the shape you already have. The beginners who get into trouble are the ones chasing a celebrity brow that contradicts their bone structure. Work with your architecture, not against it. This same principle applies to finding your personal style as an adult — enhance, don’t disguise.
Take a “before” photo in natural light, straight-on. You’ll need it later — after twenty minutes of close-up mirror work, your perception distorts, and the photo is the only honest feedback. This mapping discipline is the difference between shaping and vandalism. If you’re building a broader self-care routine, building a capsule wardrobe follows the same principle: define the structure first, then refine.
The Tools: What You Actually Need
Slant-tip tweezers (quality matters): This is the one tool worth investing in — $15–$25 for a precision brand like Tweezerman. Cheap tweezers slip, break hairs instead of pulling them, and cause ingrown hairs. The tips should meet perfectly with firm tension.
Spoolie brush: For brushing hairs into place before and during shaping. Most brow pencils include one; standalone versions cost a few dollars.
Small brow scissors: For trimming long hairs — never for cutting shape. Only trim hairs that stick up far above the brow line when brushed upward.
Magnifying mirror + natural light: Use magnification only for precision work, and check your progress in a regular mirror every few minutes. Magnification-only shaping is how over-plucking happens — everything looks like it needs removal at 10x.
What to skip: Brow stencils (rarely match your face), at-home waxing kits for beginners (burns and ripped skin are common — waxing is a professional skill), threading tools (the technique takes months to learn), and depilatory creams near eyes (chemical burns on eyelids are an ER visit).
The Safe Shaping Process, Step by Step
1. Prep: Work after a warm shower or apply a warm washcloth for two minutes — heat opens follicles and reduces pain and breakage. Brush all hairs upward with the spoolie.
2. Trim (carefully): Brush hairs straight up; snip only the very tips that extend well above your mapped brow line, cutting one hair at a time. Brush down and check symmetry. When in doubt, don’t cut — you can always trim more next week.
3. Tweeze from below only (first session): For your first shaping, remove only obvious strays below the brow line — the random hairs on lids and between the mapped start points. Pluck in the direction of hair growth, gripping close to the root, with quick firm pulls. Never tweeze above the brow on your first attempt; the top edge defines the arch, and mistakes there are the most visible.
4. The two-hair rule: Remove two hairs, then stop — step back, check the regular mirror, compare to your before photo. This feels absurdly slow. It’s also how you avoid the point of no return. Brows take weeks to regrow; patience is the entire technique.
5. Define, don’t redraw: Fill sparse areas with light, hair-like strokes using a brow pencil one shade lighter than your hair (darker shades look harsh on beginners). The goal is to enhance what mapping revealed, not paint a new brow.
Soothe afterward with aloe or a cold compress — redness for 30 minutes is normal. The American Academy of Dermatology advises against tweezing irritated, sunburned, or broken skin, and recommends stopping if you notice persistent bumps (possible folliculitis). The FDA’s cosmetics safety guidance covers eye-area product precautions worth reading.
Fixing Common Mistakes
Over-plucked / too thin: Stop all tweezing for 4–6 weeks minimum. Fill with pencil or powder daily. Brow growth serums with peptides show modest results over 2–3 months — they help, they don’t perform miracles. In the meantime, slightly thicker makeup application camouflages regrowth awkwardness.
Uneven brows: Brows are sisters, not twins — perfect symmetry is unnatural and trying to achieve it causes over-plucking. Match the start, arch, and end points from your mapping; minor differences in thickness are normal and invisible to everyone but you.
Arch too high (the “surprised” look): This comes from removing too much from the lower-inner brow. Let the inner lower hairs regrow for a month, and fill the area lightly. Next session, protect the inner third — most shaping should happen in the outer two-thirds.
Ingrown hairs: Exfoliate the brow area gently twice weekly and always pluck in the direction of growth. If a bump is painful or persistent, stop tweezing that spot and let it resolve — digging causes scarring.
When to See a Professional
Get your first professional shaping if: you’ve never shaped before and feel nervous (a $20–$40 brow bar appointment gives you a template to maintain), you’ve made a significant mistake (a pro can often salvage what feels hopeless), you want a major shape change, or you have very sparse brows needing expert mapping. After a professional establishes your shape, home maintenance is just removing regrowth strays every 1–2 weeks — the easy part.
Threading and waxing by licensed estheticians are excellent options for ongoing maintenance — faster and often cleaner than tweezing for full reshapes. Just avoid bargain-basement shops; eye-area work demands skill and hygiene.
Frequently Asked Questions
How often should I shape my eyebrows?
Maintenance tweezing every 1–2 weeks for strays; full reshaping assessment every 4–6 weeks. Brows grow in cycles, so constant daily plucking leads to thinning over time.
Should I tweeze above or below the brow?
Beginners should stick to below the brow and between the brows. The upper edge defines your arch — mistakes there are highly visible. Leave the top edge to professionals until you’re experienced.
How long do eyebrows take to grow back?
Typically 4–8 weeks for noticeable regrowth, with full recovery from over-plucking taking 2–4 months. Repeated over-plucking over years can damage follicles permanently — another reason for the two-hair rule.
Is it better to shape brows wet or dry?
Shape on clean, dry skin after warming the area (shower or warm cloth). Wet skin stretches, distorting your perception of shape; shaping on stretched skin leads to removing too much.
The Bottom Line
Safe at-home brow shaping is 80% preparation and 20% tweezing: map your three landmarks, invest in decent slant-tip tweezers, work in natural light with constant mirror check-ins, follow the two-hair rule, and stay below the brow line until you’re confident. Respect the regrowth timeline, and remember that your natural shape — cleaned up, not reconstructed — always looks better than a borrowed one. When in doubt, put the tweezers down and book a professional. Brows forgive patience; they don’t forgive haste.