Figuring out how do I season a cast iron skillet properly is one of those kitchen skills that feels intimidating until you actually do it. I put it off for two years because every guide I found contradicted the last one — high heat, low heat, flaxseed oil, never flaxseed oil, bake it, fry in it. Here’s the truth: seasoning a cast iron skillet properly is simple, forgiving, and mostly about thin coats of oil plus heat. Let me walk you through exactly what works.
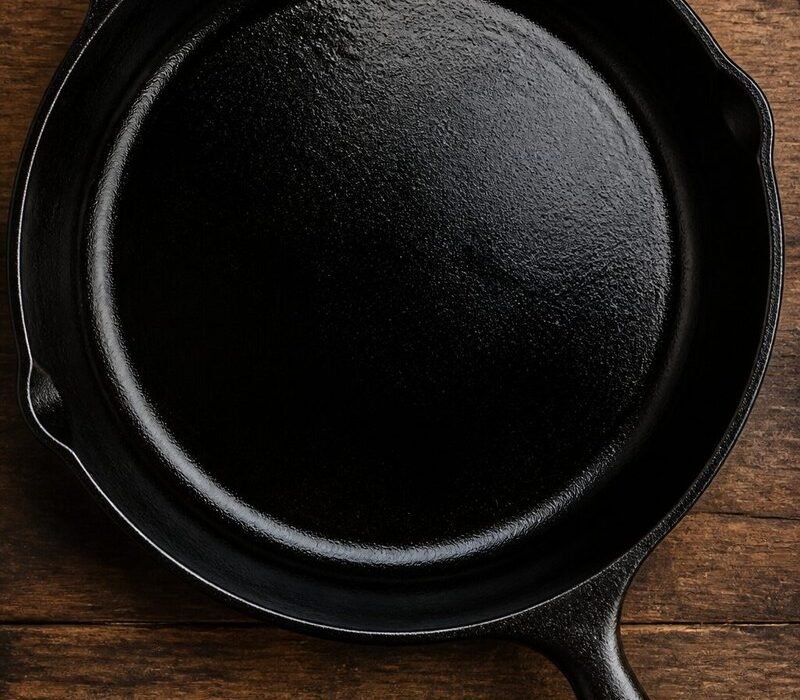
First, a quick refresher on what seasoning actually is. That slick, dark coating on a good cast iron pan isn’t just built-up grease — it’s polymerized oil, which is a fancy way of saying oil that’s been heated until it bonds to the iron and forms a hard, protective layer. A well-seasoned pan resists rust, releases food better, and gets better every year. The skillet your grandmother left you didn’t get that way overnight; it got there through years of cooking. But you can get a very good head start in a single afternoon.
How Do I Season a Cast Iron Skillet Properly? Step by Step
Start with a clean, dry pan. If your skillet is brand new, wash it with hot water and a little dish soap — yes, soap is fine despite the old myth — and scrub off any factory coating or rust spots. If you’re re-seasoning an older pan, scour off any flaking or rough patches with a stiff brush or steel wool. The surface doesn’t need to be perfect, but loose stuff has to go.
Dry the pan completely. This is critical. Even a little moisture can cause rust spots under your new seasoning. I put mine on a warm burner for a few minutes until every drop of water has evaporated and the pan is bone dry. Let it cool just enough to handle.
Now the oil. Use a neutral oil with a high smoke point — vegetable oil, canola oil, or shortening all work great. Forget the fancy stuff; expensive flaxseed oil looks impressive on paper but tends to flake off over time, and honestly, cheap canola oil has given me the best results. Put a few drops on the pan and rub it over every surface — inside, outside, the handle — with a paper towel or clean cloth.
Here’s the part everyone gets wrong: wipe off almost all the oil. I mean really wipe it, like you made a mistake putting it on. The pan should look dry. A thick coat of oil won’t polymerize properly and leaves sticky, gummy patches that you’ll have to scrub off and redo. Thin is everything. When you think you’ve wiped enough, wipe once more.
Baking the Seasoning On
Heat your oven to 450–500°F. The exact temperature matters less than getting above the oil’s smoke point — that’s what triggers polymerization. Place the skillet upside down in the oven (this lets any excess oil drip away instead of pooling) with a sheet of foil or a baking sheet on the rack below to catch drips.
Bake for one full hour. Then turn the oven off and let the pan cool completely inside the oven — don’t rush this by pulling it out early. Once it’s cool, look at it. It should have a slightly darker, matte finish. Now repeat the whole process — thin oil coat, wipe, bake, cool — two to four more times. Three coats is my sweet spot. Each layer builds on the last, and you’ll notice the pan getting progressively darker and smoother.
What to cook first in your newly seasoned skillet
Once the oven seasoning is done, the best thing you can do is cook fatty foods for the first few weeks. Bacon, sausage, fried chicken, cornbread with extra butter — anything that renders fat and coats the surface. Each of these cooks lays down another thin layer of seasoning naturally. I’d hold off on delicate foods like eggs or fish until you’ve got a dozen or so cooks under your belt, because they stick more easily on a young seasoning. And here’s a tip I wish someone had given me: after every cook for the first month, while the pan is still warm, rub in that thin film of oil and heat it on the burner for two minutes until it just starts to smoke. It’s like a mini seasoning session that takes almost no effort and builds the surface fast.
Common seasoning mistakes to avoid
- Too much oil: the number one cause of sticky, blotchy seasoning. When in doubt, wipe more off.
- Too-low oven temperature: if you’re below the oil’s smoke point, it just stays oily. Crank the heat.
- Skipping the cool-down: the seasoning keeps setting as it cools. Let it finish in the oven.
- Only doing one coat: one coat is fragile. Three or four thin coats build real durability.
Keeping Your Seasoning in Great Shape
Here’s the secret the purists won’t tell you: the best seasoning comes from cooking, not from oven sessions. After your initial seasoning, the most important thing is to just use the pan. Fry bacon, sear steaks, roast vegetables — every cook adds another micro-layer to the seasoning. My everyday skillet barely gets special treatment anymore, and it’s the most nonstick pan I own.
For daily care, clean it while it’s still warm with hot water and a stiff brush. If something’s stuck, coarse salt and a paper towel work like a gentle abrasive. Dry it on the burner right after washing, and rub in the thinnest film of oil while it’s warm. That’s it. Soap is fine for a well-seasoned pan — the old “never use soap” rule comes from the days of harsh lye soap. Modern dish soap won’t hurt your seasoning.
What should you avoid? Soaking the pan in water, putting it in the dishwasher, cooking very acidic foods (like tomato sauce) for hours in a newly seasoned pan, and thermal shock — don’t plunge a screaming-hot skillet into cold water. Once the seasoning is mature, a quick tomato-based dish is fine, but give it a few months of regular cooking first.
If you’re building out your whole kitchen toolkit, pair this knowledge with a guide to the healthiest cooking oils to use daily so you know what’s going into the pan too, and if you’ve ever tried baking a cake without an oven, a well-seasoned skillet actually makes a decent stand-in for stovetop baking projects.
Seasoning a cast iron skillet properly isn’t a one-time project — it’s the start of a relationship with a piece of cookware that can outlive you. Do the initial oven seasoning right with thin coats and real heat, then just cook in it constantly. In six months you’ll wonder why you ever thought this was complicated. For general background on cast iron cookware, the cast-iron cookware article on Wikipedia covers the history and science nicely.